Great for both students and teachers-ideal for CLIL
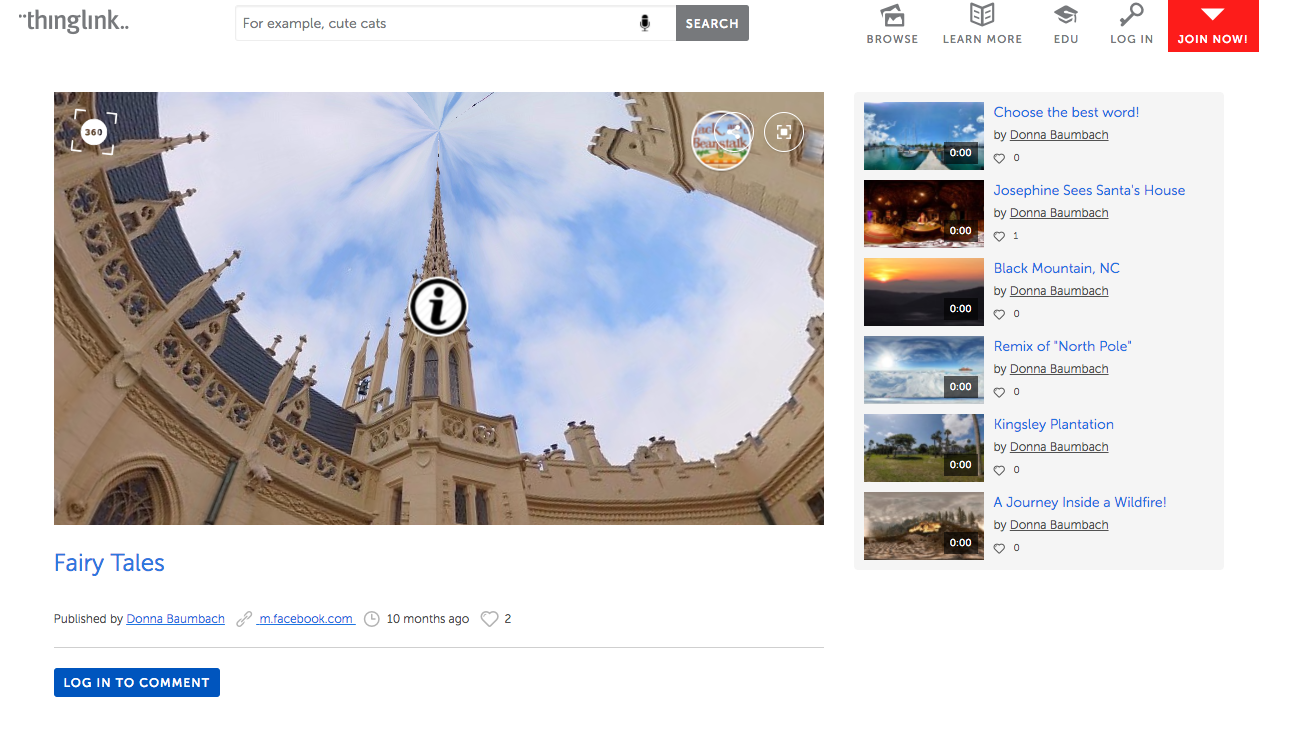
Thinglink is one of those quick and easy to use technologies that really does have lots of uses. Basically Thinglink allows you to take a picture and add interactivity to it. So for example I take a picture of a map of Italy and then add interactive hotspots onto the map so that when users click on the hotspots different media appear. For example we might have a hotspot over Rome, so when the users clicks on Rome a video starts that tells us about the city. We might have another clickable hotspot over Naples etc. The hotspots can include a whole range of media
Thinglinks are really easy to produce and the tool is free. The great thing about the technology is that students can create Thinglinks as well as teachers. It is an ideal tool for project work, discussions, reading activities, presentations, information sharing and much more. I am going to present a few ways you could use it with your students but there are many more.
Idea one-Using the information from a Thinglink
Imagine for example that we wanted our students to learn about Africa. We could upload a map of Africa and then add some hotspots on the map that link to interesting information we want the students to access. The students could then explore the map, take notes on what information they find ( it could be videos, text, podcasts, articles etc). After the students could work in small groups and share what they have found out. Finally the teacher could ask some questions to the group and see if the students know the answers. The idea is that the teacher creates their own Thinglink and then shares it with the students so that they can access certain information. The important thing though is to make sure there is a preceding activity. The students might access the information in the Thinglink and then use the information to write a summary, complete a questionnaire, create a presentation etc. Example one
Here we see a map of Africa with lots of clickable ‘hotspots’: LINK.
Idea two-Presenting your Thinglink
Since Thinglink is free, students can also produce them. Students can even collaborate on creating Thinglinks by sharing the link, so two or more students can produce a Thinglink together. You may decide to let them choose the topic and get them to work on their Thinglinks for homework. For homework the students create their Thinglink and then in class the different groups can stand up and present their Thinglinks to the rest of the class. It is easier if you insist that the students don’t use videos but can only use images and text. Explain that they have to prepare their Thinglink at home and then present it to the rest of the class. Tell them they can’t read off the screen-this way they will prepare the presentation better.
Idea three-Writing
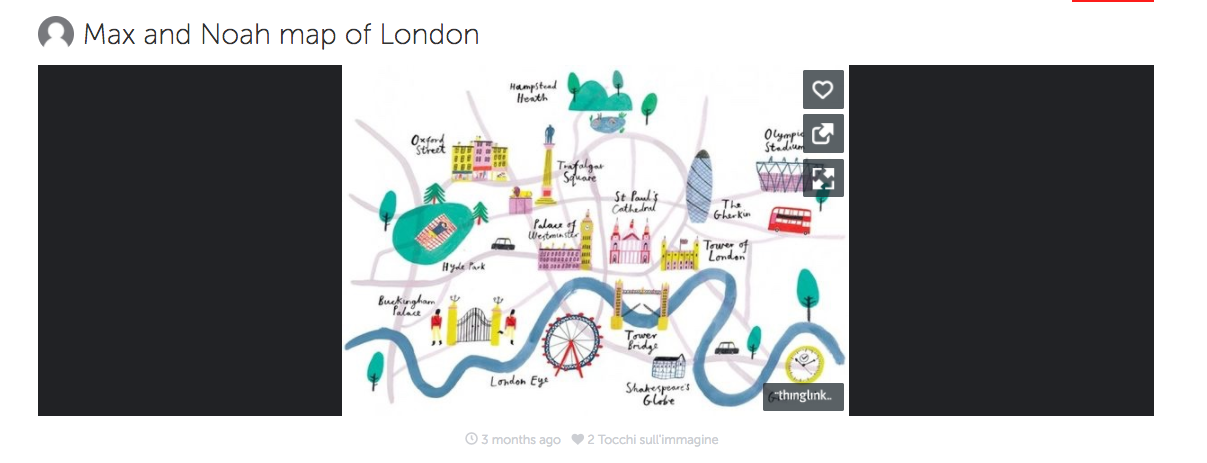
Students don’t have to share links, videos etc. They can choose to just write text and add hotspots with textual information. This works really well if the students choose a picture of something they are familiar with. So for example it might be a place they know, a famous person, a building, an object to label etc. For example, students could work in groups, upload a picture of an object and then label it. Either the teacher tells them what picture to upload or the students choose their own. Example 2
In this example, students have labelled the human body with various videos. Remember it doesn’t have to be videos, you can do this with text too: LINK.
You could easily make this into a competition by challenging the students to label as many things as they can in a certain amount of time. Not all the students need access to a device to do this. One student can have a device and the other students in the group can just share ideas which the student with the device adds in.
Conclusions
A simple tool that is free, versatile and easy to use. It can be used with a variety of different level students and since the tool is free students can make them too. It is a nice idea to think of ways for the students to use the Thinglinks as part of a series of activities. It works particularly well as the starting point for an activity where students look for information on the Thinglink and then use it for a subsequent writing activity or presentation.
These videos show you how to use Thinglink:
Russell Stannard
Educational Director
NILE associate trainer ( Norwich Institute for Language Education)
Winner of:
Times Higher Outstanding Initiative in ICT
British Council ELTons award for technology
University of Westminster Excellence in Teaching and Learning
Negli ultimi anni, i tempi di attesa per ottenere il rilascio del passaporto sono diventati notevolmente prolungati. Questa situazione deriva dal fatto che per richiedere
L’Intelligenza Artificiale (AI) ha rivoluzionato il modo in cui pianifichiamo e viviamo i nostri viaggi. Negli ultimi anni, il settore del turismo ha subito una
L’apprendimento di una nuova lingua è un’impresa emozionante, ma può anche essere un percorso pieno di sfide. Uno degli elementi chiave per avere successo è
Questo sito fa uso di cookies per migliorare l'esperienza di navigazione degli utenti, per raccogliere informazioni sull'utilizzo del sito stesso e, in taluni casi, per inviare messaggi pubblicitari mirati. Utilizziamo sia cookies di prima parte che di terze parti. Se vuoi avere maggiori informazioni leggi l'informativa estesa sui cookies cliccando sul pulsante 'Cookie Policy'.
Cliccando sul pulsante 'Accetto' o procedendo nella navigazione di questo sito acconsenti all'uso dei cookies.
This website uses cookies to improve your experience while you navigate through the website. Out of these, the cookies that are categorized as necessary are stored on your browser as they are essential for the working of basic functionalities of the website. We also use third-party cookies that help us analyze and understand how you use this website. These cookies will be stored in your browser only with your consent. You also have the option to opt-out of these cookies. But opting out of some of these cookies may affect your browsing experience.
Necessary cookies are absolutely essential for the website to function properly. This category only includes cookies that ensures basic functionalities and security features of the website. These cookies do not store any personal information.